

Aircraft InteriorYou start constructing your RV-8 aircraft interior by building the two seat backs. Then you fit the floors and finish up with the seat ramp and consoles. I faced a few tricky spots in this process. Here's how I handled them. Seat Backs
  The
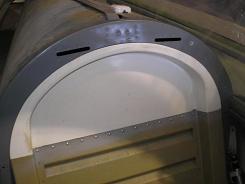
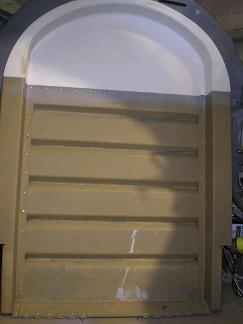
old rear seat back
had a
fiberglass top that needed to
be fitted to the seat back at an angle that made it lay smooth against
the
F-807 bulkhead. I clecoed the turtle deck
skin on to hold the
top half of the F-807 bulkhead in the proper position. Then I put the fiberglass
top into position
and marked where it met the top of the seat back.
I put the seat back and top flat on the bench
to drill the parts together. Then
back
into the fuselage to ensure the top was lying flat against the
bulkhead, and I
drilled the holes in the sides of the seat back.
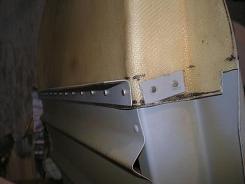
Lastly, I cut the fiberglass to size,
ensuring it didn’t cover the holes in the bulkhead for the seatbelts. The exact shape isn’t
important, as long as
it looks good.
 Seat Floors
I have seen others who have a rear mounted battery install an inspection door in the lower half of the F-835 rear baggage shelf. This allows access to the battery by unscrewing only a few screws instead of having to remove the entire F-835. If you are going to do this, mark and cut the hole carefully, and you can reuse the center part you removed as the access panel. Make a doubler out of material at least as thick as the F-835 (.025). Rivet it to the F-835 so that it provides a lip for the access panel to rest against. Then drill holes for screws though the panel and the lip of the doubler. Finally, rivet platenuts to the back of the doubler. This panel within the aircraft interior is similar to the access panel in the F-866A Fwd Baggage Bulkhead.
I built the F-865 right console of my aircraft interior just like the plans, but I wasn’t happy with the throttle quadrant, so I made my own. You can read all about it in my Throttle Quadrant article. The last bit of fuselage building that should be done in order is attaching the empennage.Return from Aircraft Interior to Fuselage Return from Aircraft Interior to Kit Plane Advice Home |
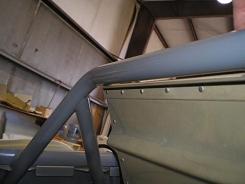 The
new match drilled front seat back
is straightforward.
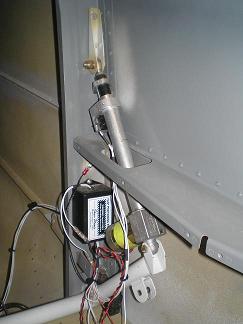 Locating
and drilling the
platenuts
for the Flap actuator
and F-445 Flap Bearing Block was difficult.
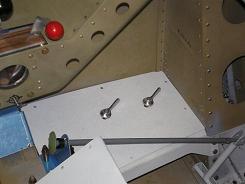 Locating
the fuel valve
handle hole
in the F-881-L mid cabin
cover took some thought.