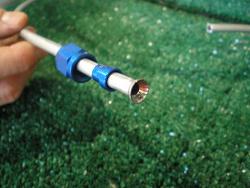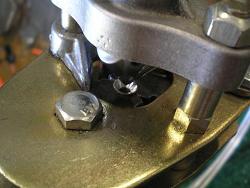

Aluminum TubingThese tips for bending and flaring the aluminum tubing of your kitplane will really pay off in saved time, effort, and frustration. Don’t use the threads of the connectors to pull the end of the tube into place. When you are done bending, the tube should sit naturally on the ends of the fitting, and you should be able to easily hand start the nut. If they don’t, keep working them. This portion is what took the longest. I could have the initial shape bent and the ends flared in no time, then spend an hour or two fitting, tweaking, removing etc the tube until it rested on both fittings. Newer aluminum tubing bends a lot easier and tighter without kinking. If you have some older tubing you want to work into the mix, use it for the straighter runs. Filling the tubing with very fine sand does help keep the tube from kinking. But if you try to bend it too tight, it will still kink. Don’t try to bend too tight. This table from AC41-13b shows the minimum bend radius for aluminum tubing. For the ¼ tubing used in the RV-8, the minimum is 9/16’ and for the 3/8 tubing, it is 15/16”. Even if the bending tool radius is smaller than this, don’t try to bend the tube that tight, it will kink. 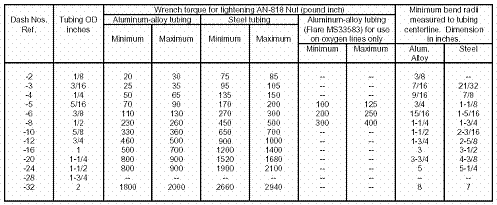 Flaring
Tubing 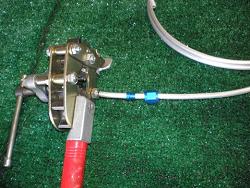 Spray a quick shot of WD-40 onto the end of the tube or cone of the flaring tube. 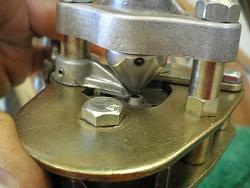 Then twist the tube handle to make the flare. Don’t over do it. It is very easy to apply too much pressure and crack the flare of the tube.
Before you flare, slip the AN-818 nut and the AN-819 collar onto the
tubing. Make
sure they are facing the correct direction.
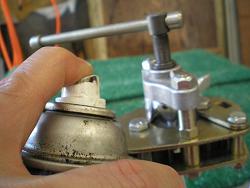 Set the flaring tool for the correct outer diameter of the tube. Push the tube into the tool until it stops at the flange that moves with the wing nut. Then clamp the tube tight.
After you remove the tube from the tool, inspect it. The end should be smooth, and there should not be any cracks. If there are, you will have to cut the end off and repeat the flare.
Return from Aluminum Tubing to Tools and Tips Return from Aluminum Tubing to Kit Plane Advice Home |
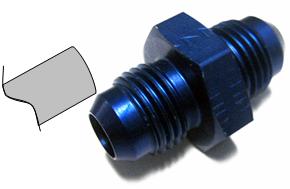 After
the first end has been
flared, and the tube bent to the proper shape, or almost anyway, the
second end should be resting against the AN fitting it will eventually
be connected to. Mark the tubing where the flare of the
fitting ends and the threads begin (see the picture.) Then
smooth the end and flare with a