
Axles and WheelsI installed the axles and wheels while I had the airplane up on saw horses to install the gear. I didn’t bother with determining the centerline of the fuselage, as I wasn’t installing the fairings at this point. All I needed was the fuselage to be level in both directions so I could align the wheels. Axles
I tied the string to a set of car jacks. Then I placed the jacks just outboard of the spacers and pulled the string tight so it just touched the spacers. This let me install and remove the axles without having to un-tape and re-tape the string. It was tough to tell exactly how many degrees of shim I needed. I knew it was either 1 ½ or 2° but I wasn’t sure which. So I ordered enough shims to do it either way. At $7 each, I bought extra to ensure I had everything I needed. I ordered four 1° and two 1/2° shims, letting me set anything from ½ to 2 ½° total on both sides if needed.
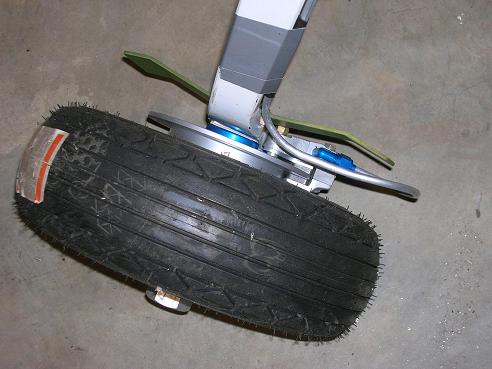
Since the shims don’t have holes, I clamped everything in place with just a ½° shim to start, then increased to 1, 1 ½, and finally 2° of shims. I think in a perfect world, I would need 1 ¾° shims. But since they don’t make these, and since Vans said I only needed to be within ¼° of toe in or out, I was happy. I settled on 1 ½° of shims for each side. You can see them in the picture. I don’t have a tool that let me measure ½°, so I installed the shims and pulled the string tight. Then I measured the distance from the axle to the string on the inboard end. Once I had too much shim, the inboard end of the spacer touched the string, so I measured from the outboard end of the axles. The measurement was just a little smaller with 1 ½° than with 2° of shim.
NOTE: Drill the cotter pin holes
before you
install
the tire and tube. They
will get in the way
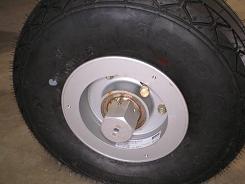
of the drill and bit otherwise. It is important to get the bearings completely packed with grease. If you have access to one the tools made to do this great, but if like me you don’t, just do it by hand. Put a 1” ball of grease in the palm of one hand. Hold the bearing in the other with your first two fingers through the center. Then push the bearing into the grease from the flat “end” so grease goes into the bearing through the slot between he inner and outer shells. Repeat this until grease comes out the other end. Then twist the entire bearing in your hand and do it again. Keep this up until you have gone all the way around the bearing. Now your hands and the bearing have been completely greased. The other thing that is tough is making sure the tube isn’t pinched in the wheel halves. I find it easier to keep a little air in the tube. This makes the tube push out of the way as I slide the wheel halves together. If it were not inflated a little, the tube could just get pinched as the halves are slid together. Click here for a discussion of the brakes.
Return from Axles and Wheels to Finishing Kit Return from Axles and Wheels to Kit Plane Advice Home |
 I
started by temporarily
installing without shims.