

Elevator RiggingI would suggest you wait on elevator rigging until you are done with the other things in the aft end of the fuselage. I would complete all the electric wiring, static system installation, and riveting the turtle deck skin. Once the elevator control pushrods are in place, there isn’t much space in the tail.
I measured 3 1/16 from
the F-808 bulkhead per the plans by
clamping a piece of angle across the back of the bulkhead, then
measuring from
it to the center
Set the aft stick to the neutral position. I had the plane leveled when I did my elevator rigging, so I used a level on the side and front of the stick to ensure it was neutral. Then adjust the length of the F-840 to align with the aft hole in the WD-412A lower rear stick. Tighten the jam nuts and tighten the bolts for the F-840. Those same two holes I used for the “jig” allowed me to use two sockets and short extensions to tighten the nut on the aft end of the pushrod. Now you can insert the F-839 pushrod and front stick. You can again use levels to set the front stick to neutral, or just measure from the top and bottom of the rear stick to the top and bottom of the front stick. When the two measurements are the same, the sticks are neutral. If you haven’t already bent and/or cut the front stick, remove it before checking the freedom of movement of the controls. It will hit the instrument panel if you don’t. Unclamp everything and check full range of motion. Check that the elevators move to the up and down stops and that they are traveling within 25-30° up and 20-25° down.
Return from Elevator Rigging to Final Assembly Return from Elevator Rigging to Kit Plane Advice Home |
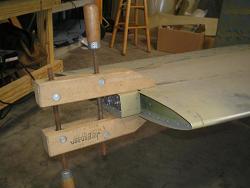 Start
by clamping the elevators in the neutral or
trail
position. You can put a drill bit or dowel into each alignment hole in
the end
of the stab and elevator and use a level if you still have the fuselage
leveled, or a straightedge if you don’t.
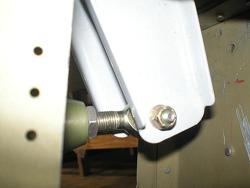 Connect
the F-841 pushrod to the elevator control
horns, but
don’t connect it to the F635 bellcrank just yet.
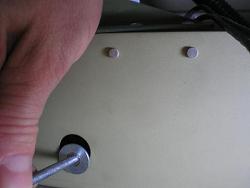 of
the top hole in the F-635.
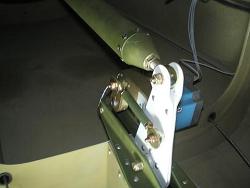
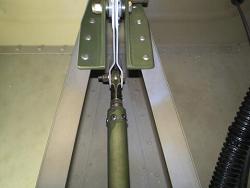 Now
that the elevators and the F-635 bellcrank
are both in
the neutral position, you can set the length of the F-841 pushrod to
align the
rod end bearing with the upper holes in the bellcrank.
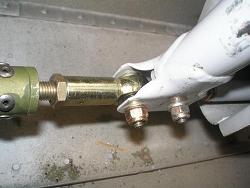 Connect
the aft end of the F-840 pushrod to the bottom of
the bellcrank.