
Rudder
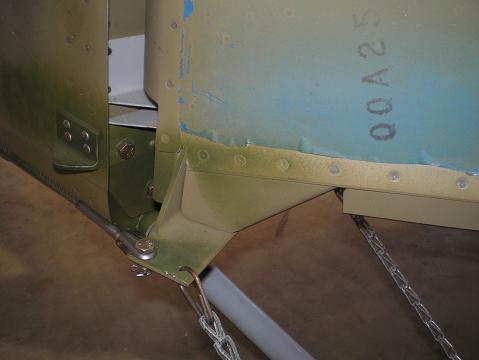
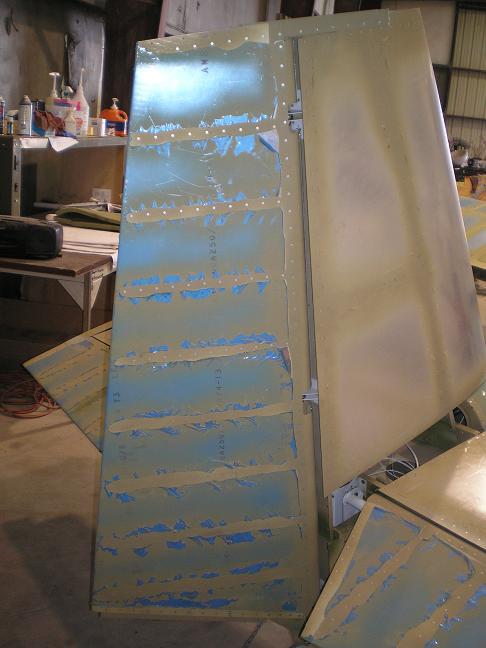
Just like the directions say, you will want to back rivet the stiffeners to the skin. Start by putting a line of rivets into the holes in the skin. Then put a strip of riveter’s tape across the row of rivets. (I found that if I turn the end of the tape on itself and made a little tab, it was much easier to remove the tape when I was finished.) Now turn the skin over; the tape will hold the rivets in place. Place the rivets over the backriveting plate and put the stiffener in place. Drive the shop head with the backriveting set. Since clecos will get in the way, you will need to push down on the stiffener to keep it tight against the skin. Bending the trailing edge took some work. Read Bending Trailing Edges for my technique. If you are going to crimp the skin rivets, you don’t need to clamp, but if you are going to buck them, clamp that rudder to the bench. Bending the leading edge was almost as fun as bending the trailing edge. Read Bending Leading Edges for my technique. After the two skins match up nicely, blind rivet them together and you are done.Now read the Elevators section, and the empennage fiberglass section. 
Return from Rudder to Tail Kit Return from Rudder to Kit Plane Advice Home |

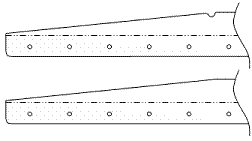
 You start building the
rudder by shaping the R-815
stiffeners.