
Wheel FairingsI waited to install my gear leg and wheel fairings until after I had flown the first few hours. I wanted to first ensure the airframe itself was as true as I could get it. If I had a slight roll to the right for example, I would have known the airplane caused it and would have been able to then correct it. If the fairings were installed already, I wouldn’t have known if it was them or the airplane causing the roll. I might have adjusted the wheel pants and then had offsetting errors. The plane would have flown straight, but with more drag. I figured that once I had the airframe itself flying true, I would install the leg and wheel fairings. If I then got another roll off, I would know it was because I didn’t install the fairings correctly. This would let me concentrate my efforts in the right place to fix any errors. Luckily, the plane flew straight and true without the wheel pants and fairings, so I went ahead and installed them. You can see from the pictures that they are not ready for paint yet, but they are secure, and really make a big difference. With the wheel pants installed, the plane just doesn’t want to slow down. Without them, I could enter the pattern, pull the power back, and slow down enough to lower the flaps. Now, I have to start a lot earlier, planning my descent to ensure I enter the pattern slow enough to configure. (I know, we all have our problems to deal with, I think I can handle this one.) Upper Gear Leg Fairings  
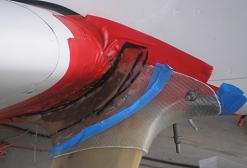
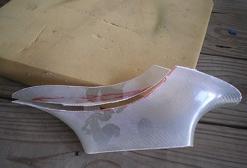
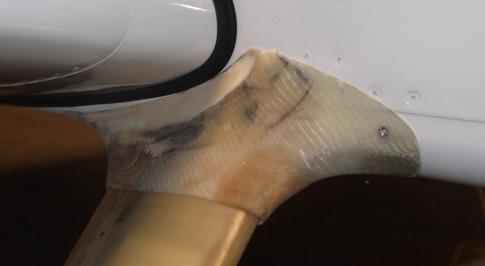
The install went as advertised except for the upper gear leg fairings. They overlapped the wingroot, and I didn’t like how they looked. So I removed enough fiberglass to allow me to make a smooth curve to reach the fuselage under the wing. Then I used some clay to create the new shape I wanted. Finally, several layers of new glass and a lot of sanding got the shape I wanted.
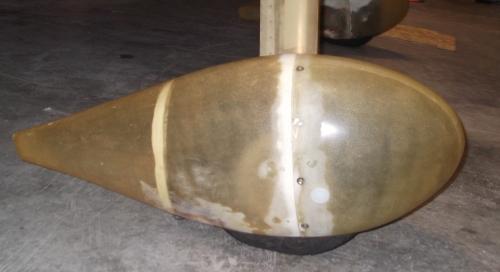
Wheel Pants I didn’t like having to remove the front half of the wheel pant every time I wanted to check the tire pressure. So I drilled a one inch hole and used a plastic cap I got from the aviation isle of Lowes. I used a laser to locate the holes. First I removed the front half, then rolled the plane forward to get the valve stem where I wanted it. Then I aligned a laser to shine on the tip of the valve stem, angled the same as the stem. After putting the front half back on, the laser pointed to the perfect spot to drill the holes.
Next I’ll do some more final prep on these parts and the cowling before I paint them, but for now, I’ll just fly them as they are. Just think, once I smooth them up and paint them, I’ll get even more speed out of her!
Return from Wheel Fairings to Finishing Kit or to Fiberglass Return from Wheel Fairings to Kit Plane Advice Home |

