

Final Wing Hanging and Wing RiggingThe day I was finally ready to permanently hang the wings and do the wing rigging was very exciting. This was a big step that really made the project look like an airplane. I made sure everything was ready for this final install. Here's how it went. There are a couple of things I would caution you about first. Have you finished everything on the inside of the plane? Once the wings are on, getting around takes a lot longer. You can no longer just scoot around the nose and be on the other side of the fuselage. Now you will have to walk all the way around the wings. Have you already installed the gear? The plane is a lot heavier and harder to jack up with the wings installed. If you haven’t already seen my preferred building order, check it out before you make any final decisions. The final time is much like the initial fitting. You will still need help with the wings while you are inside the cockpit fitting the bolts. Don’t forget to slip the F-816 pushrods into the wings before you do the final install. I greased up the main spars to allow them to slip easily into the center spar section. When you are sliding them in, start with the wing spar above the bottom fuselage skin so the lower edge of the spar doesn’t scrape the inside of the skin as it is inserted. I used the same tapered bolts to initially align the holes in the main spars. This time though, I used the close tolerance bolts called for in the plans to push the tapered bolts back out. Use a little forethought on the direction you start with the tapered bolts. Remember you will be pushing them out with the real bolts and leaving the real bolts installed. So insert the tapered bolts from the opposite side than you want the final bolts inserted. Then when you push the tapered bolts out, the final bolts are inserted correctly. I installed the four main bolts on each wing while I had help. The rest I could do on my own. Before I tightened any bolts or nuts, I started all the bolts, including the one in the rear spar. After everything was started, I tightened the smaller bolts first, then finished up the four large bolts on each wing. Since I had used grease to help push everything together, there was grease on the threads of the main bolts. I had to remove it since the torque specifications are for unlubricated threads. Lastly I torqued the rear spar bolt.
I used the bellcrank jig to hold the WD-421 bellcranks in the neutral position. Then I adjusted the ends of the F-816 pushrods until the bolts slipped through the pushrod and the bellcrank and tightened the jam nuts to lock the length of the pushrod. Make sure you have about the same amount of threads showing on both ends of the pushrods. You don’t want more than half the threads showing on either side.
Next,
I slipped the F-818
pushrods into the wings, and hung
the ailerons. It
took a little while to
get the spacers and washers just right for the ailerons. Then I clamped the aileron
in the trail
position by aligning the tooling holes on the wing tip and aileron. I adjusted the ends of the
F-818 pushrod the
same way I did the F-816.
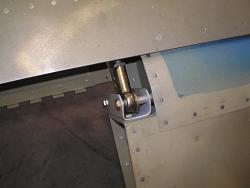 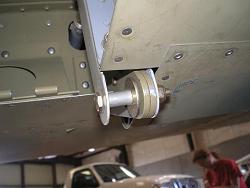 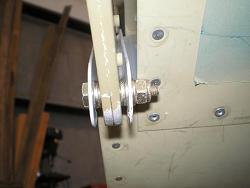 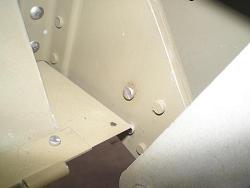 Don’t
tighten all the
aileron nuts yet—I had to remove the
ailerons to attach the stops. After
everything was connected, I unclamped the stick and ailerons and
checked
everything for travel. Then
determined
where the stops would go. The
plans call
for up travel of 25-32° and down of 15-17°. I made the two small stops
out of aluminum
left over from the tank attachment brackets, and clamped them into a
position
that gave me a little less than 32° of up travel. Don’t
tighten all the
aileron nuts yet—I had to remove the
ailerons to attach the stops. After
everything was connected, I unclamped the stick and ailerons and
checked
everything for travel. Then
determined
where the stops would go. The
plans call
for up travel of 25-32° and down of 15-17°. I made the two small stops
out of aluminum
left over from the tank attachment brackets, and clamped them into a
position
that gave me a little less than 32° of up travel. 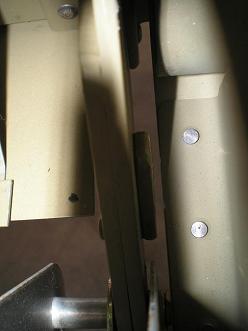 Then
I drilled and clecoed
them onto the W-413
inboard aileron mounting
brackets. Then
I drilled and clecoed
them onto the W-413
inboard aileron mounting
brackets.
With the stops in place, I checked the travel of the ailerons. With the aileron against the stop on one side, I checked the down travel of the other aileron. Since I had drilled the stop at slightly less than 32°, I could trim off a little metal to fine-tune the stop. I did this until I got to 17° down and 32° up for both ailerons. If you reach one limit before the other, you can make adjustments to the length of the F-818 pushrods. If you haven’t already drilled and attached the fiberglass wingtips, now is a good time to do it.
Return from Wing Rigging to Final Assembly Return from Wing Rigging to Kit Plane Advice Home |
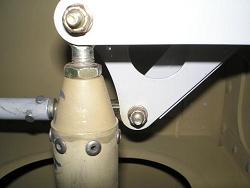 I
started the wing rigging
from the center of the plane and
worked out.