
Wing Tanks
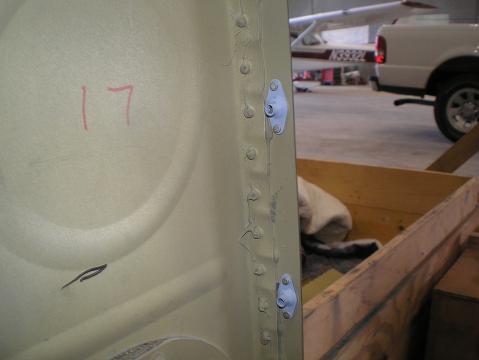
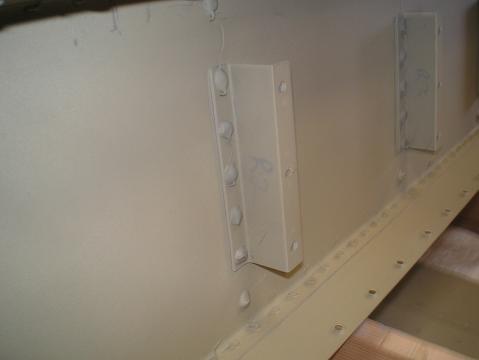
There are several things that you must do differently while assembling the wing tanks. Let’s talk about those differences and some other techniques that will help you build your tanks. The directions talk about straightening and fluting the ribs to make them fit. You will do this just like you have fluted and straightened all the other parts so far. But a little more attention is needed on the front ends of the ribs. Those little flanges on the front of the ribs need to be bent so they don’t drag across the skin and scratch through the alclad. Spend a little extra time here to make sure they fit nicely. The last step in my Vans directions under "Fitting the Tank Skins to the Ribs and Rear Baffle" talks about installing the capacitive fuel sending unit. This is also the right time to make any other mods you are planning. Fuel Return Line
I have also seen people add a Fuel Level Low Sensor to their wing tanks. This is completely independent from the normal fuel sensors, and normally activates a light and/or horn when the fuel gets below a set level. Now is the time to install the parts into the tank. Again, I would recommend installing it on the T-703 root rib if there is room. If you have to install it in the T-702 baffle, add a special note to your conditional inspection checklist to ensure you check it for leaks. Riveting
the
Wing Tanks
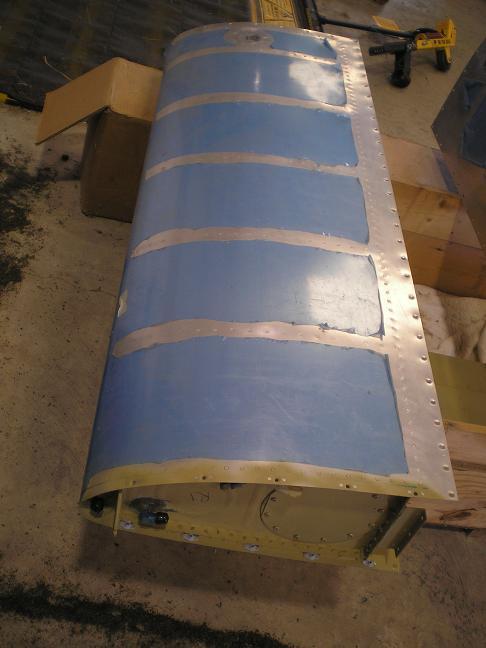
Together (Proseal Time) Warning: Proseal is messy, and will find it’s way onto everything you are using. Wear clothes you don’t mind getting covered in proseal. I picked a handful of clecos and made them the sacrificial proseal clecos. Now I reuse the same clecos over and over whenever I have a proseal job. I found using two sets of plastic gloves, one over the other, was helpful. Then when the top set got sticky with sealant, I pulled them off and was able to quickly and easily put a new, second set on top of the first. It is tough to pull the plastic gloves over sweaty hands, but it’s a lot easier to pull them over another set of gloves. By the way, make sure you don’t get the gloves with Talc, it will make a mess. I bought the tubes of proseal that are pre-measured and only need mixing. Using the tubes in a gun was much easier than using a tub and trying to ladle the sealant out. You can find the longer working time sealant good for a couple hours. Since you are in no hurry, this is the best stuff. Both tanks took me four tubes—one for the stiffeners and other parts, two for all the ribs, and one for the baffles. I backriveted the stiffeners to the skin just like the directions say, only I put all the rivets in the holes, taped them and set the skin against the backriveting plate, then spread the proseal on the stiffener. Then I riveted it on. A note on riveting. The proseal will get onto both the bucking bar and the set. Wipe it off after every rivet. This is a little time consuming, but it will ensure the next rivet bucks properly. If you leave proseal, you run the chance of the bar or set slipping while riveting, and ruining the rivet. Then you have to drill it out with all that proseal everywhere. Yuck, what a mess. I had the skin and ribs in the cradle while riveting the ribs. I removed the clecos from a rib, slid it out, and buttered the rib flange with proseal. Then I slid it back into the skin, as straight down as I could. This kept the mess to a minimum. Before you finish this session of prosealing, make sure everything is installed. Did you run the vent line? If you added a return, a fuel level low sensor, or any other extras into your wing tanks, now is the time to install and seal them. You can bend the lines and insert them into the rib holes once the end rib is installed, but it is a lot easier to slide them straight in before the end rib is installed. Before you rivet on the baffle, take the time to check your proseal job for leaks. After the proseal dried, I left each wing tank in the cradle and filled it with water above the top of the last rivet. I checked it the next day to see if any water had leaked out. I would rather find the leak with the tank still open while it is much easier to apply more proseal. It’s a lot harder to seal a leak once the tank is closed.
Before installing the T-708 cover plate, You can again check for leaks. This time set the tanks with the baffle down. Fill them with water to the lip of the opening in the end rib. The next day, you can check for leaks on the baffle.
Instead of a dab of proseal on each screw, get some thread sealant from your local auto parts store. This stuff is made for just this purpose. It will seal the screw threads, is fuel resistant, and will allow you to remove the screws when you need to. You can also check each wing tank for leaks after you are completely finished by pressuring up the tank. Don’t overdo it, you don’t want to blow the tank up. I’ve seen balloons and calibrated gages both used to good effect to check the tank for leaks. You will have to hook up the appropriate fitting to allow you to pressurize the tank and to monitor that pressure with either the gage or the balloon. Now it's time to rivet the wings together!
Return from Wing Tanks to Wing Kit Return from Wing Tanks to Kit Plane Advice Home |
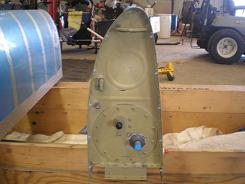 If
you are using a constant flow fuel
system and need a fuel
return line to the wing tanks, now is the time to install it.
 If
you run it internally, you can
drill another hole in the
T-703 root ribs and install the proper bulkhead fitting, either
a straight, 90, or
45 degree elbow.